Do you want to see how your ad performance changes depending on certain elements of your landing page? Use Google Optimize, a tool where you can easily create an experiment to see how changes affect your ads.
Google Optimize allows you to:
- hide, add, or change certain elements on the website: texts, images, buttons, etc.;
- compare different landing pages;
- test pages with a different design.
In this article, I describe in detail how to create and run a Google Optimize experiment.
What does it take to create an experiment in Google Optimize?
Here are the requirements for Google Optimize:
- Install Google Analytics, Tag Manager, and Optimize codes on the website.
- Install the Google Optimize extension in Chrome.
- Configure the terms of the experiment in Google Optimize.
Let's take a closer look at the experiment settings using the example of an A/B test.
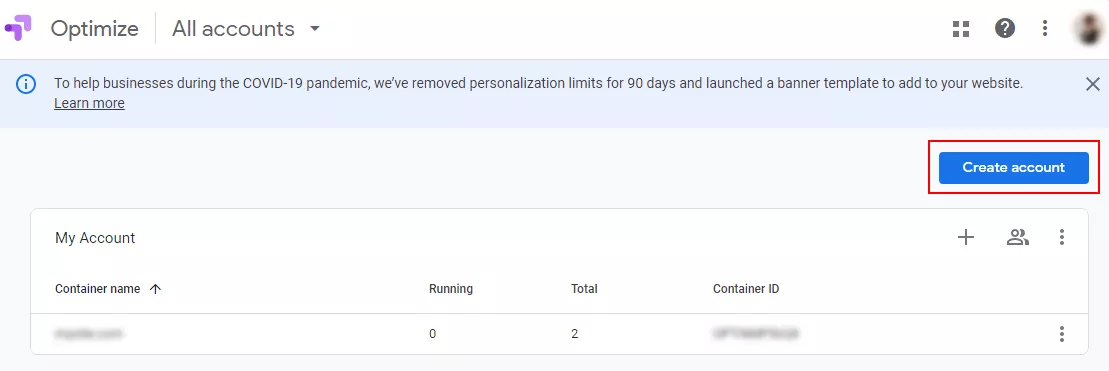
1. Create an account in Google Optimize.
Go to Google Optimize and click Create account.
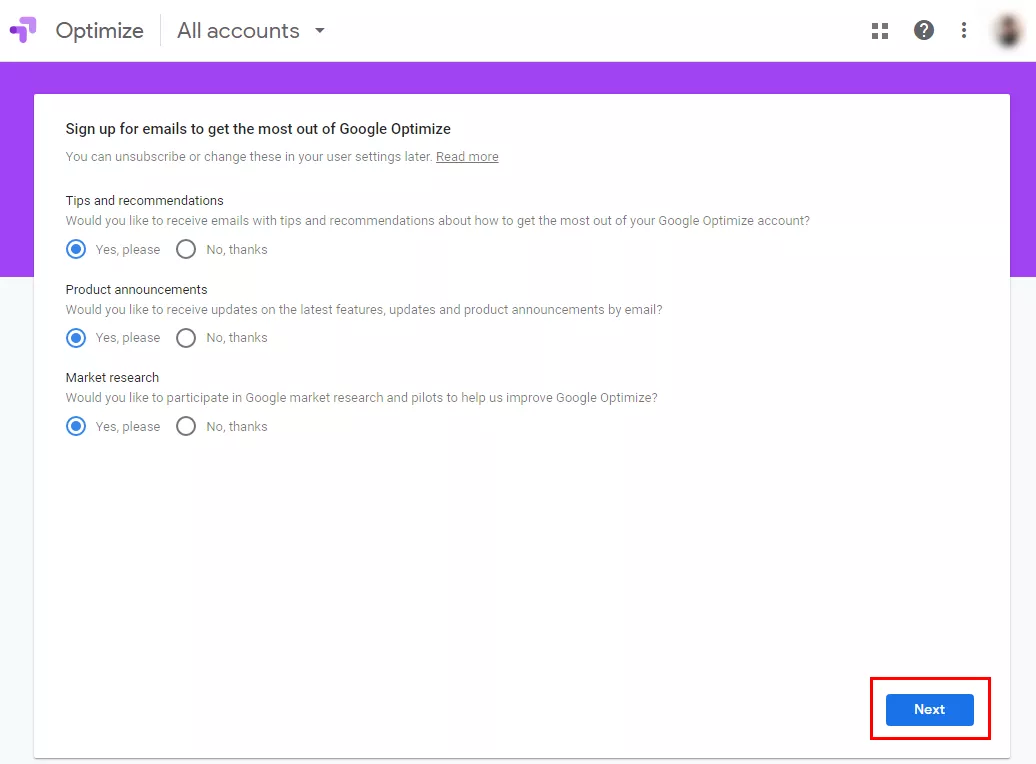
Select the subscription you want (or unsubscribe from all of them) and click Next.
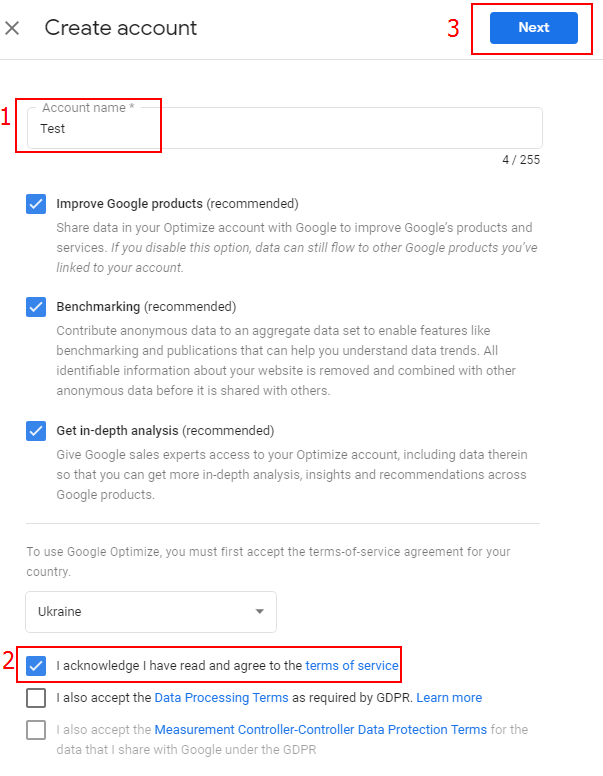
In the window that appears, name the account, accept the terms of the agreement, and click Next.
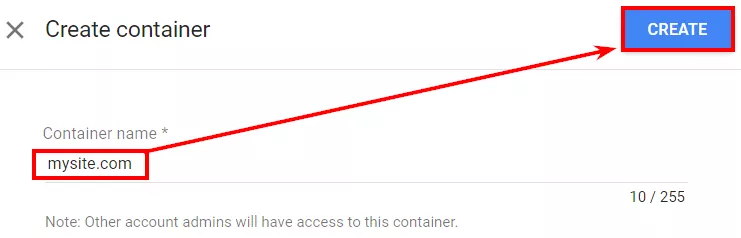
Create a container, name it, and click Create.
2. Select the type of experiment.
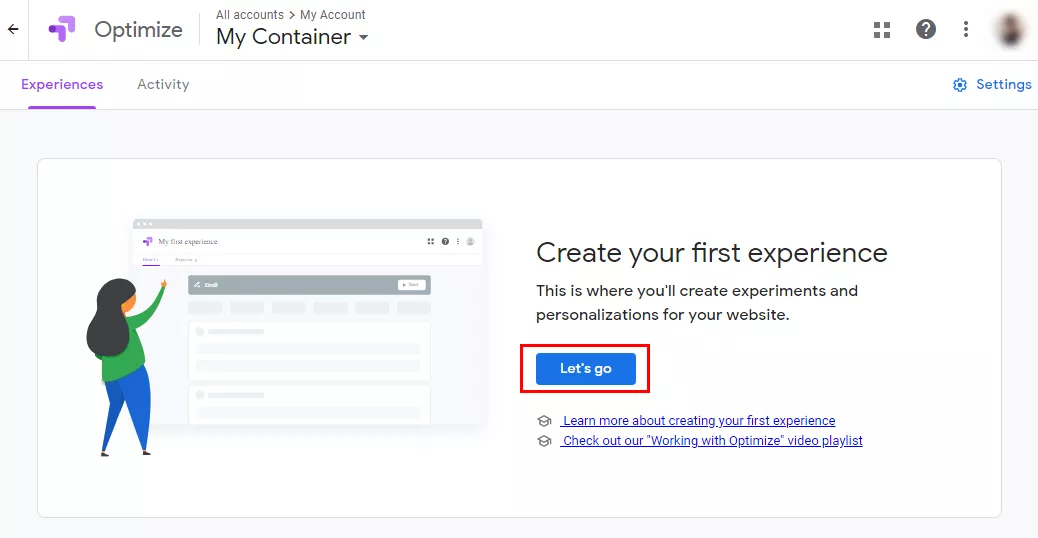
In the account created, click Let's go.
In a new dialog box, name the experiment, specify the address of the page you plan to test, and select the type of experiment.

There are three types of tests available in Google Optimize:
2.1 A/B-test for a randomized experiment with two or more versions of one page.
2.2 Multivariate test where you can test multiple elements of the same page.
2.3 Redirect allows you to compare two different landing pages or design versions of one page.
Other features are also available:
2.4 Personalization allows you to personalize your page for targeted visitors.
2.5 COVID-19 banner. Add a banner message related to COVID-19 to your website with an important update for your customers using our template.
3. Set up the experiment
Click on the created experiment to open its settings dialog box.
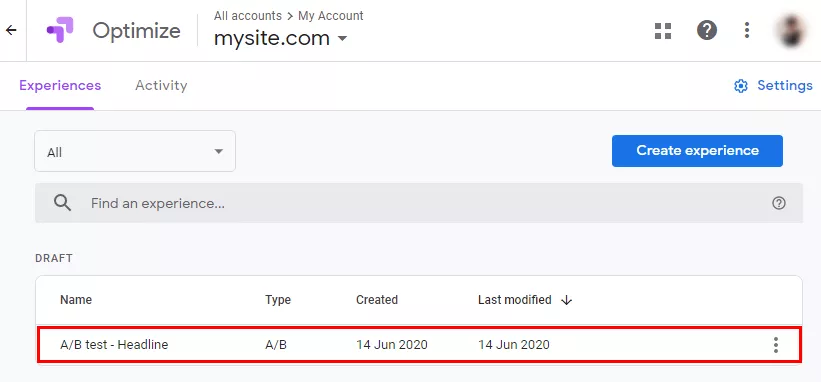
You will be forwarded directly to the experiment settings dialog box.
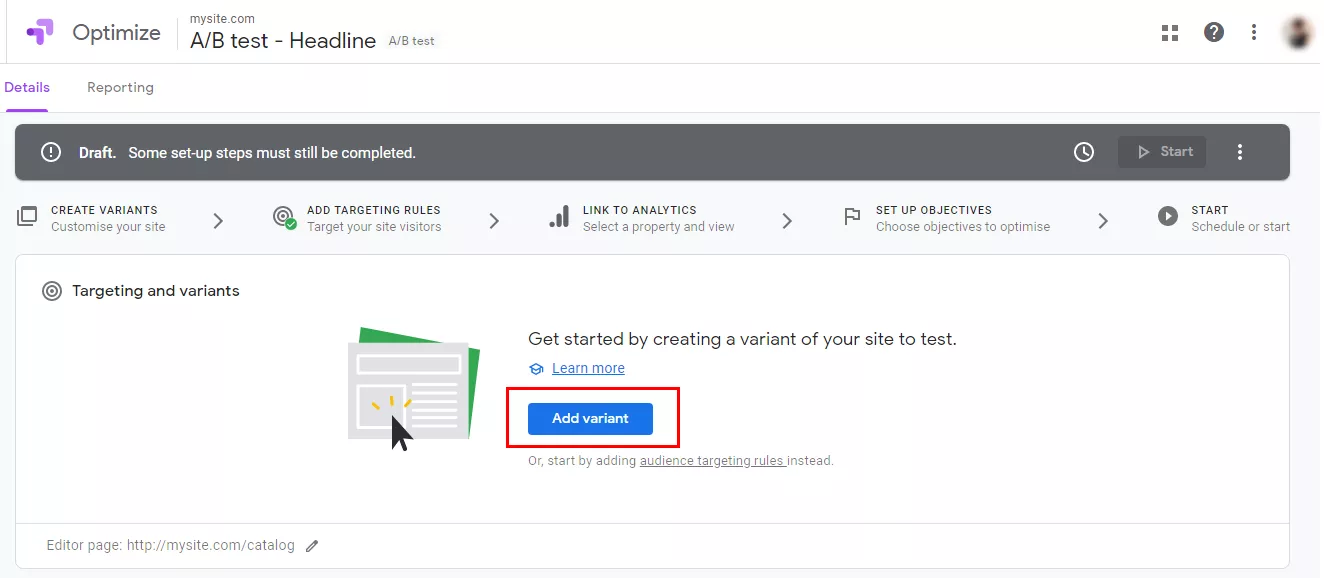
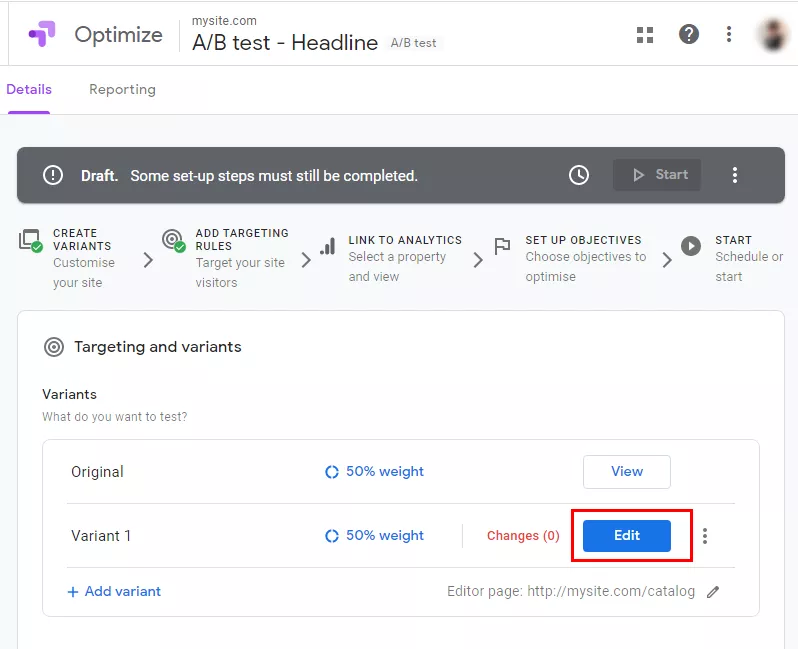
3.1. Create variants for comparison
A variant in Google Optimize is a modified page element that you want to compare with the current appearance of the element.
3.1.1 By default, the system creates an initial variant called Original.
To add a test variant, click Add variant.

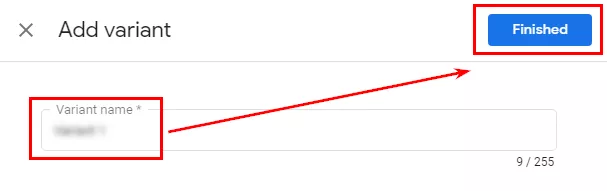
Specify the name of the new variant page and click Finished.
To customize the experiment variant, install the Google Optimize extension.
3.1.2 Click the Edit button next to the created variant and wait until the page for which you want to configure the experiment loads.
In a new dialog box, you can:
- delete a page element;
- change the size or location of the element;
- change the text on the website, as well as its font, alignment, size, and color;
- add a background as a fill color, set a frame, or change transparency;
- edit the HTML or JavaScript code.
Save all changes.

For JavaScript-heavy websites, it’s essential to ensure that changes are properly rendered and indexed. Single Page Applications & Javascript SEO Services can help you maintain visibility during optimization.
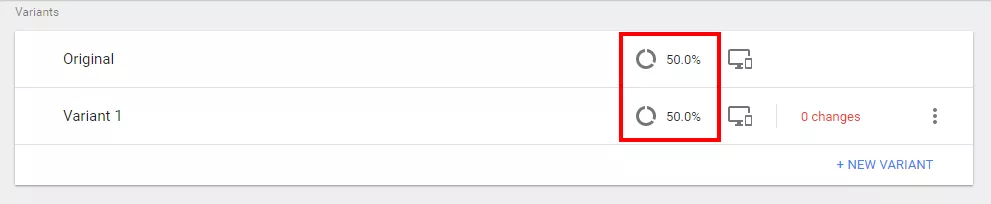
3.2. Set the experiment weight
By default, the system gives equal weight to each variant of the page.
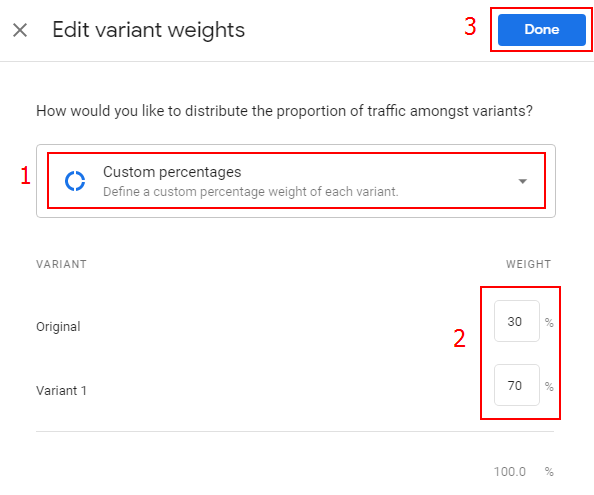
If you want to test, for example, the effectiveness of the planned redesign of the Buy button, you can send more traffic to the test variant to more accurately assess user reactions to the change.
To change the weight of a variant, click the icon for that setting.

In a new dialogue box, enter the desired weight for each variant and click Done.
3.3. Create a targeting rule
There are ten types of targeting available in Google Optimize, and you can create your own experiment triggering rule based on these.

- Google Ads targeting – targeting based on accounts, campaigns, ad groups, and keywords of Google Ads.
- URL targeting.
- Audience targeting – audiences created in Google Analytics (available only to Optimize paid users).
- Behavior targeting – new or returning visitors who have come from certain sources.
- Geotargeting – visitors from a specific city, region, or country.
- Technology targeting – users using a particular device, browser, or operating system.
- JavaScript variable – the value of the JavaScript variable used on the website.
- First-party cookie – targeting user cookies.
- Custom JavaScript – custom code that allows targeting based on information not available in previous targeting methods (e.g., time of day).
- Query parameter – GET parameters. With this type of targeting, you can target the experiment with UTM tags.
- Data Layer variable – based on the values stored in the data layer variables.
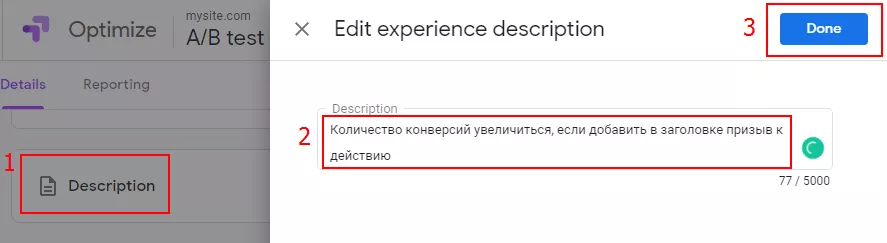
4.4. Set the hypothesis
In the description of the experiment, I recommend that you spell out the question you want the experiment to answer. Alternatively, you can describe in detail your assumptions about how the innovations will affect your chosen goals.
4. Link Google Optimize to Analytics
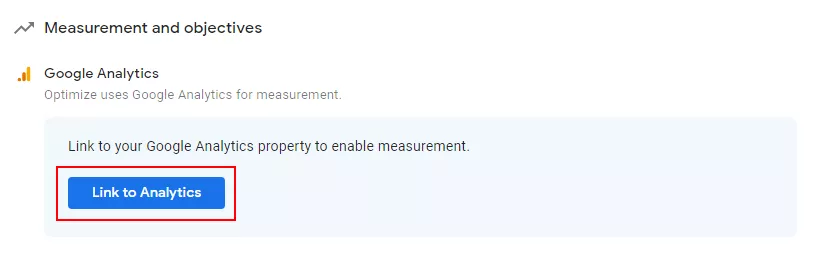
4.1. Connecting Google Optimize to Analytics
To link Google Optimize to your analytics, click Link to analytics.
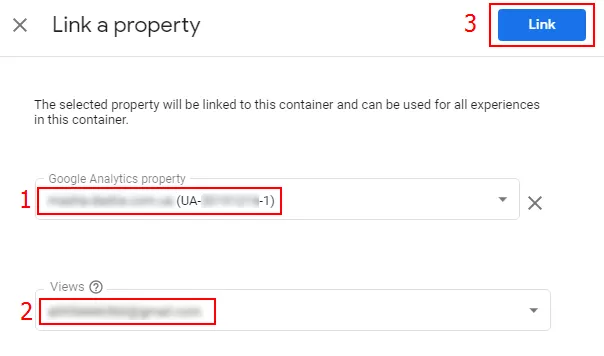
In a new dialogue box, select the resource and the Google Analytics view.
4.2. Set objectives
To measure the performance of the experiment variants, you need to set objectives. For example, you can see how the new design affected the bounce rate or page conversion rate.
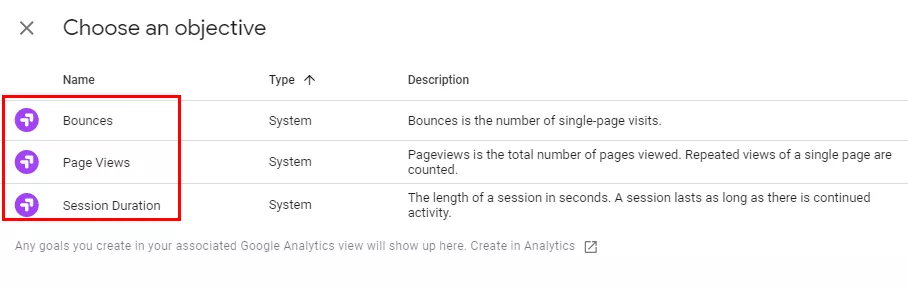
4.2.1. In Google Optimize, you can select standard objectives or set your own ones. There are three types of standard objectives:
- page views
- session length
- refusals
Your own objectives:
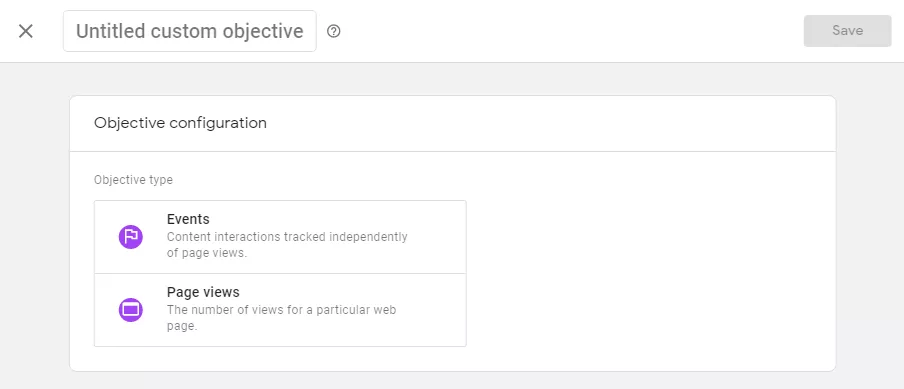
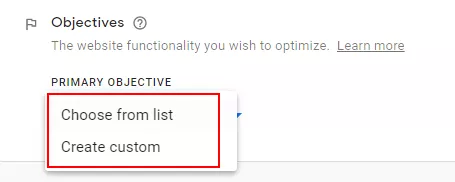
4.2.2 You can also use goals from Google Analytics. To do so, go to Objectives and click Add experiment objective. You can choose from existing objectives (Choose from list) or create your own (Create custom).
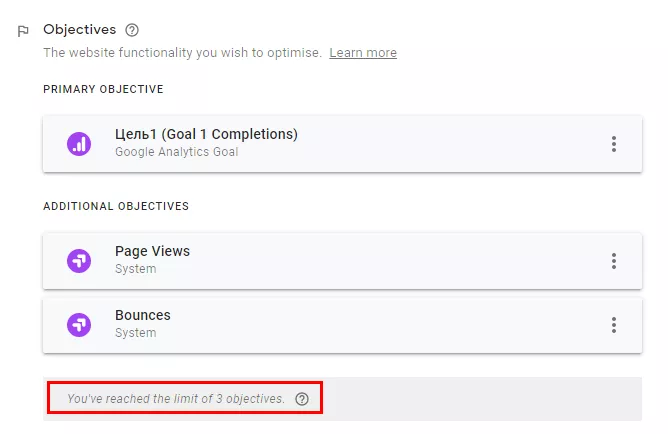
4.2.3. You can combine standard Google Optimize objectives with your own goals from Analytics, but in the free version, you can only use three objectives at a time.
5. Set up targeting
All website users can take part in the experiment or you can set certain criteria to select certain users. Let’s take a closer look at what you can set up in the Settings tab.
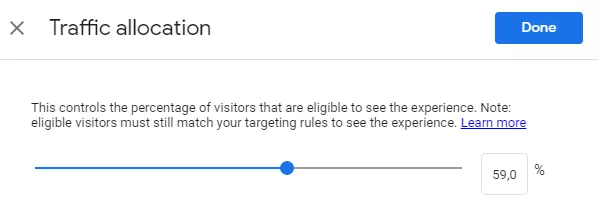
5.1. Share of website visitors
By default, all website visitors will participate in the test. If you want to test your hypothesis on a smaller number of users, just enter the required percentage value in the field highlighted in the screenshot below.

On the same tab, you can change the weight of the variants, if necessary, by clicking Edit.
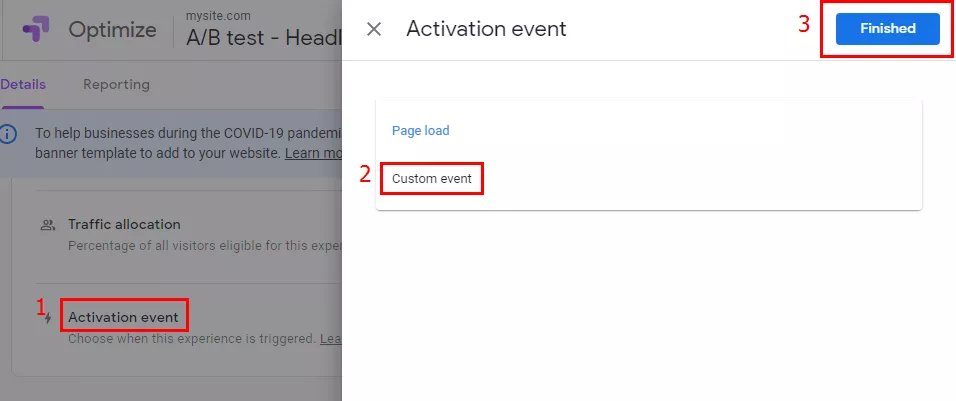
5.2. Activation condition
The targeting settings in Google Optimize allow you to determine when an experiment is activated.
By default, it activates when the page loads. To set an event as an activator, go to When and select Custom event.
6. Install Optimize code with Google Tag Manager
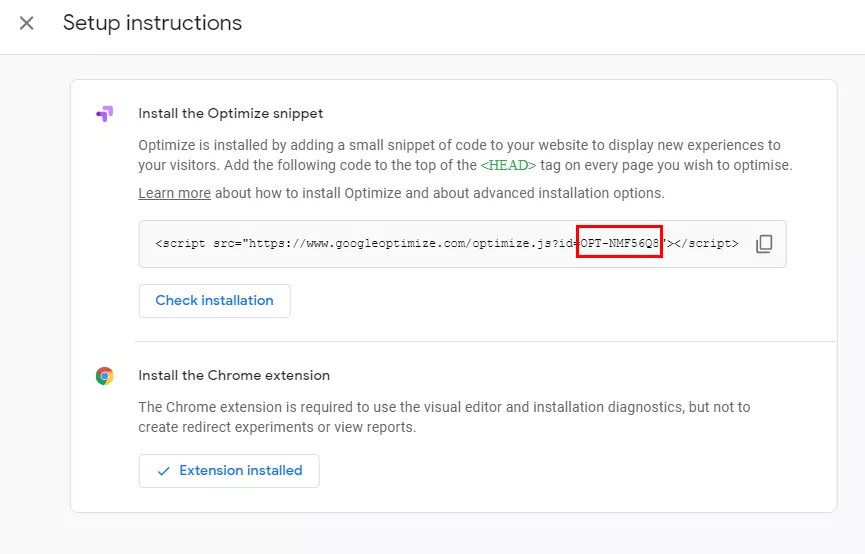
6.1 Open the menu with experiment setup steps and navigate to the Google Optimize installation.
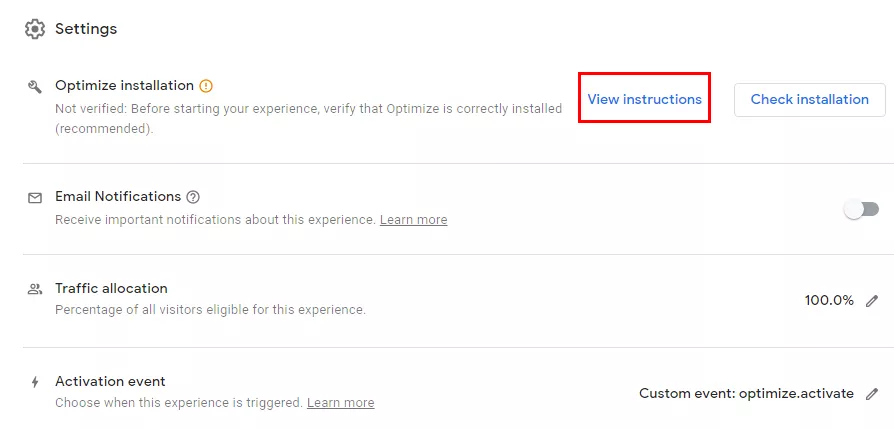
In a new dialogue box, copy your Google Optimize account ID.
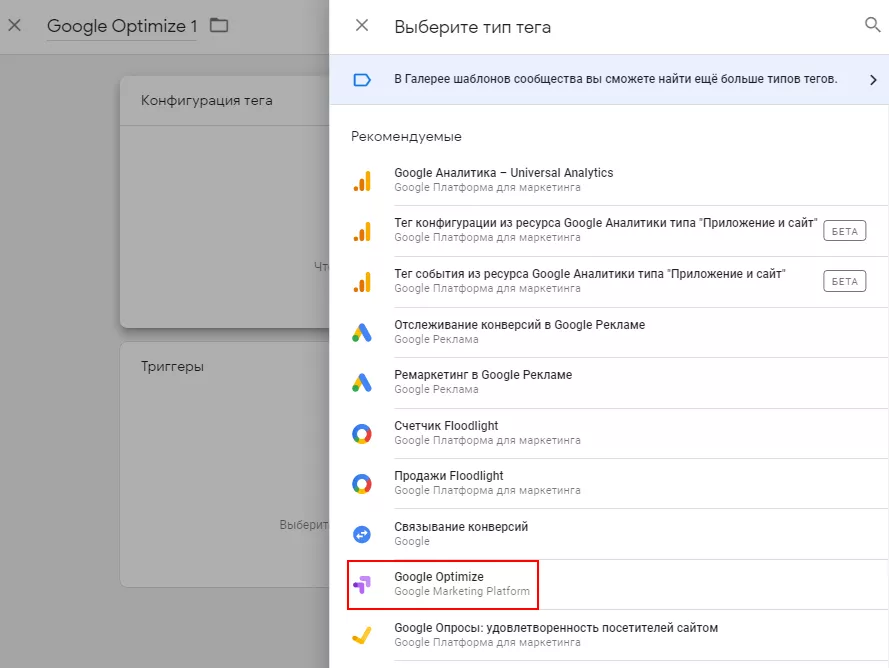
6.2 Go to Google Tag Manager and create a new tag of the Google Optimize type.
6.3 In the tag settings, specify the Google Analytics tracking ID and the Optimize account ID you copied earlier.
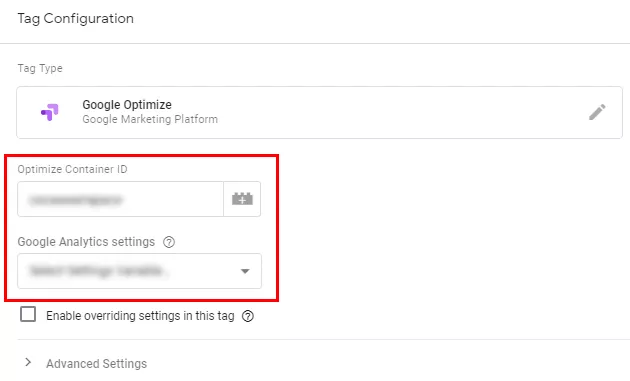
Save your new tag. You won't need any triggers for it.
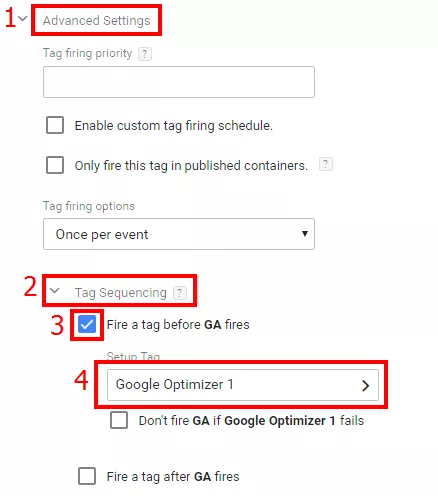
6.4 Now you need to change the tag order so that the Optimize tag is triggered before Google Analytics.
Go to the advanced Analytics tag settings, check the box next to Activate tag before Google Analytics tag, and select the Google Optimize tag from the list.
7. Install a script that hides element substitution
The Google Optimize code should be installed directly on the website so that visitors do not see the substitution (Google Optimize help).
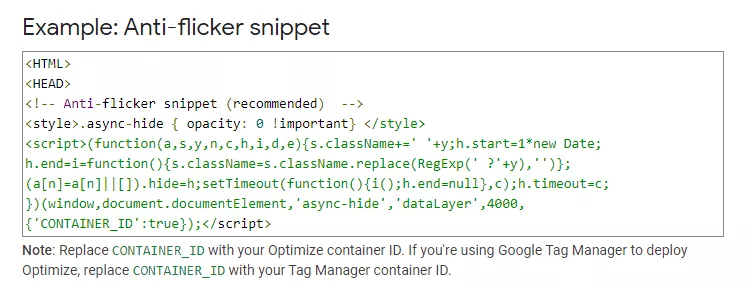
This is the standard code:
 <style>.async-hide { opacity: 0 !important}
 </style><script>(function(a,s,y,n,c,h,i,d,e){s.className+='
'+y;h.start=1*new Date;h.end=i=function()
{s.className=s.className.replace(RegExp(' ?'+y),'')};
(a[n]=a[n]||[]).hide=h;setTimeout(function(){i();h.end=null},c);h.timeout=c;})
(window,document.documentElement,'async-hide',
'dataLayer',4000,{'CONTAINER_ID':true});</script>
The standard code for element substitution is not very good. During substitution, it shows just a white screen and it's hard for the user to understand whether the website is loading at all. To solve this, Netpeak's Analytics Strategist Alexei Danilin has fine-tuned the script so that it will show a picture on top of the white screen. In the modified script, it is clear that the website is loading.
You can use the script below as an example:
<style>.async-hide { opacity: 0 !important}div#pageloaddiv
{visibility:visible !important;position: fixed;left: 0px;top:
0px;width: 100%;height: 100%;z-index: 1000;background:
url('[URL картинки-заглушки]') no-repeat center center;}
</style><script>(function(a,s,y,n,c,h,i,d,e){ s.className+='
'+y; var div = document.createElement('div'); div.id =
'pageloaddiv'; div.style = 'opacity: 1 !important';
document.documentElement.appendChild(div); h.start=1*new Date;
h.end=i=function(){  s.className=s.className.replace(RegExp('
?'+y),'') }; (a[n]=a[n]||[]).hide=h; setTimeout(function(){
i();  h.end=null;  document.getElementById('pageloaddiv').style.opacity
= 0;  document.getElementById('pageloaddiv').style.zIndex = 0;
setTimout(function () {   document.getElementById('pageloaddiv').
parentNode.removeChild(div);  }, 300); },c); h.timeout=c;})
(window,document.documentElement.lastChild,
'async-hide','dataLayer',4000,{'GTM-xxxxxxx':true});</script>
Conclusions
Google Optimize is a powerful tool to test your website’s performance, individual pages, and elements.
How to work with it:
- Create a Google Optimize account and select an experiment type.
- To set up the experiment, create variants of pages to compare and determine how traffic will be distributed between them.
- Link Optimize to Google Analytics.
- Configure objectives in Optimize or select previously configured ones in Analytics, so you can evaluate the effectiveness of the elements you're comparing.
- Set up targeting – the conditions for activating the experiment on your website.
- Set up the Optimize code with Google Tag Manager.
- Add a script directly to the website code that hides the substitution of elements.

 6
6
 4
4
 2
2
Recommended theme posts
Related Articles
How to Set Up Consent Mode in GA4 on Your Website with Google Tag Manager
Let's explore how to properly integrate consent mode in GA4, configure it for effective data collection, and at the same time comply with GDPR and other legal regulations
Display Advertising Effectiveness Analysis: A Comprehensive Approach to Measuring Its Impact
In this article, I will explain why you shouldn’t underestimate display advertising and how to analyze its impact using Google Analytics 4
Generative Engine Optimization: What Businesses Get From Ranking in SearchGPT
Companies that master SearchGPT SEO and generative engine optimization will capture high-intent traffic from users seeking direct, authoritative answers